
Create your community
Create a community on AISKOOL, set its name, address, icon and cover, write the About page, list it in Discover and choose free or paid entry.
This guide takes you from the Create your community button to a community that people can find and join. You need an AISKOOL account first. See Sign in, your profile and your account.
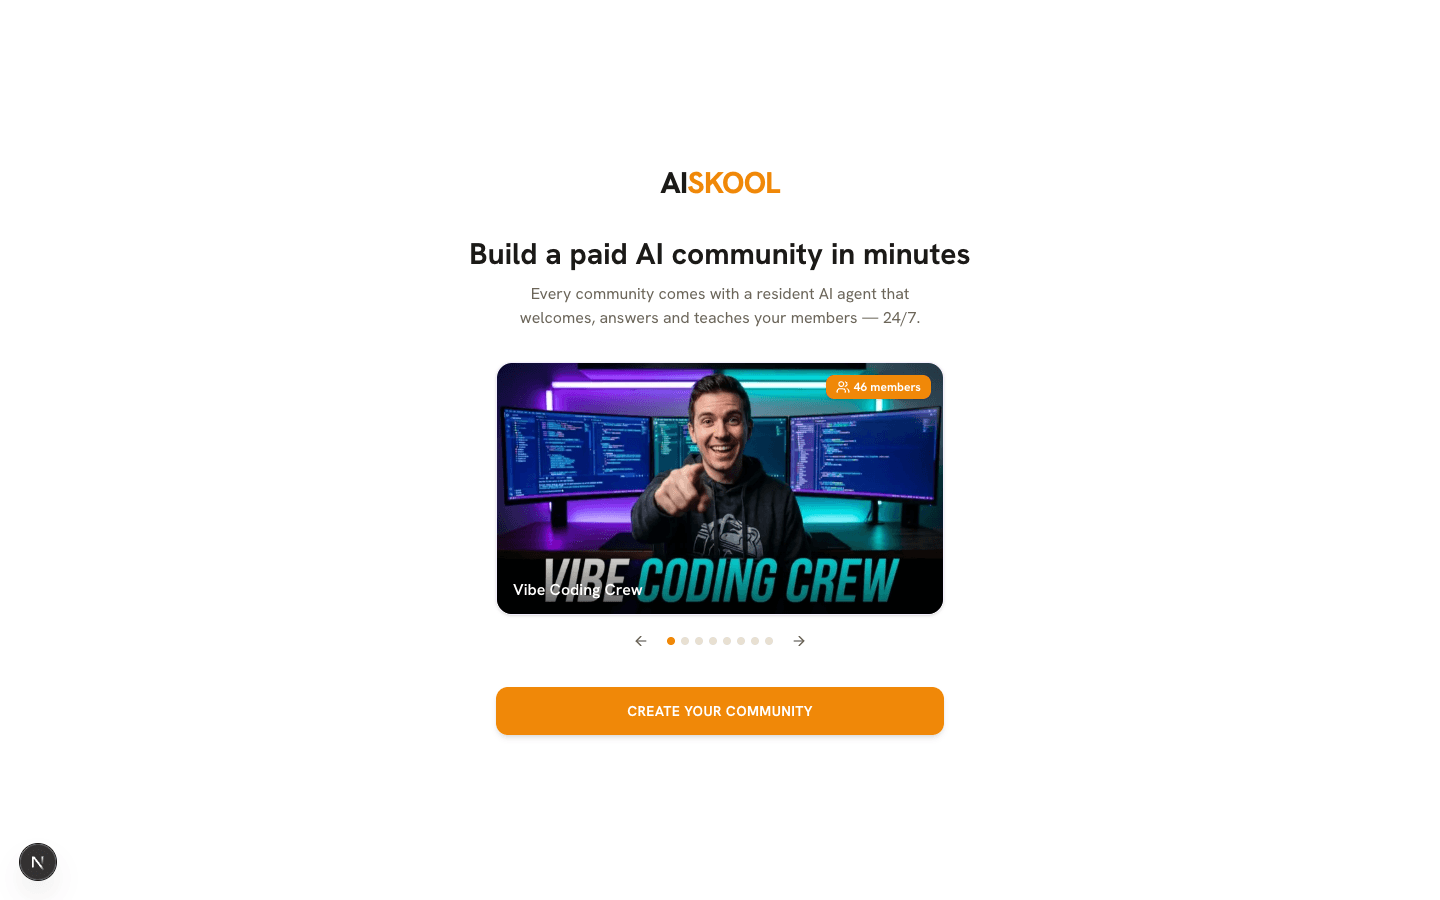
Create the community
- Log in, then open aiskool.co/new and select Create your community.
- On Select your plan, select Try for free. The Community plan is $9 a month with a 7-day free trial.
- Fill in the form. Community name is required (2 to 30 characters). Name your AI agent is optional. Teach your agent takes up to three links, such as your website, docs or a YouTube page.
- Enter a card and select Start free trial. The first $9 charge comes 7 days later, and AISKOOL emails you 3 days before. If your wallet holds $9 or more, Pay with wallet appears above the card field. If the card is declined, AISKOOL shows the error and creates nothing.
- Your Manager workspace opens with a feed, a general chat channel, a classroom and a calendar already in place.
No card is needed when a plan already covers the community. Agency covers every community. A Lifetime or AppSumo license covers your oldest communities up to its limit. The page then says Your plan covers this and offers Create community. When a license is full, it says Your Lifetime plan covers your 5 oldest communities. Adding another one needs the $9/month plan. Select Continue to add a card.
Name and address
AISKOOL builds the address from the name, so Prompt Engineers Club becomes aiskool.co/c/prompt-engineers-club. A number is added if the address is taken. Settings has no field to rename a community, so choose a name you want to keep.
To change the address, open Settings in the Manager workspace, or Community settings in the avatar menu. Under Community address, edit it and select Change address. Only the owner can, and only twice. Use 3 to 40 lowercase letters, numbers or hyphens. Old links to your public page redirect, but the page warns that changing the address breaks old links.
Icon, cover and listing
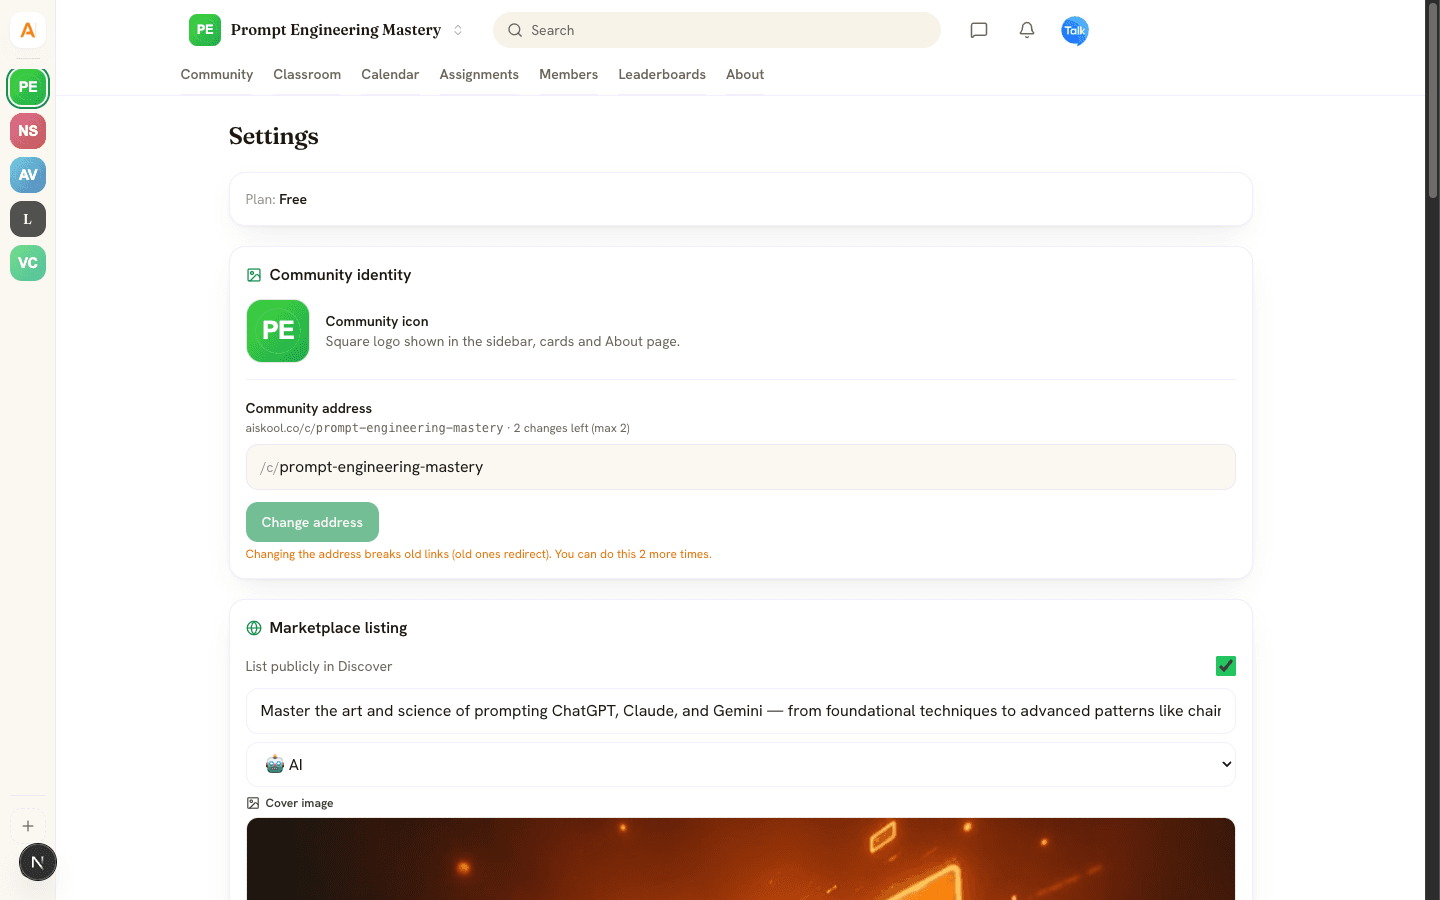
- Community icon: a square PNG, JPEG or WebP. It saves when you choose the file.
- Tagline: up to 140 characters, shown on your card and About page.
- Category: one of 12, from AI to Sports. Discover has a chip for each.
- Cover image: the upload box suggests 16:7.
- List publicly in Discover: new communities start unlisted. Until you turn this on, there is no public page and nobody can join from a link.
Select Save in the Marketplace listing card to store the toggle, tagline, category and cover.
Write your About page
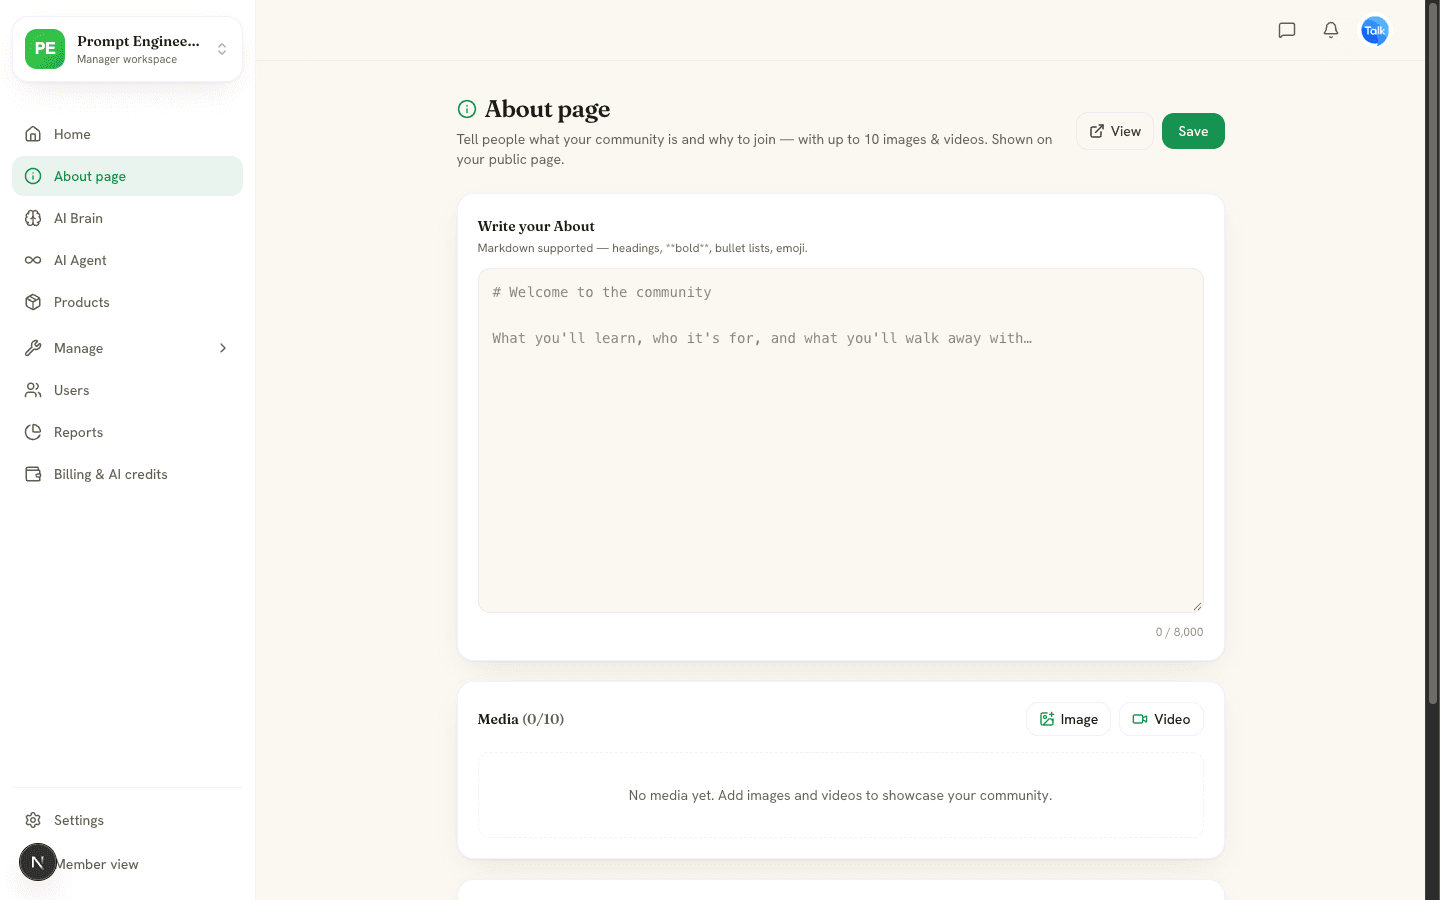
Open About page in the Manager workspace. Write your About takes Markdown up to 8,000 characters. Media holds up to 10 images and videos, with YouTube, Vimeo, Loom or Wistia links for video. Add section inserts blocks such as Features, Pricing and FAQ. Select Save, then View to check the public page.
Public or paid entry
Once your community is listed, anyone signed in can select Join group and get in at once. To charge for entry instead:
- Open Billing & AI credits. Under Member payouts, select Connect payouts and finish Stripe's setup.
- Under Membership tiers, enter a name and a monthly price, then select Create tier. Paid tiers start at $5 a month, and a tier cannot be edited after you create it.
- Select Require payment to join, or Make entry tier on the tier you want. New members then pay through Stripe Checkout before they get access.
Stripe's fee comes off each payment first. You keep 96% of the rest and AISKOOL keeps 4%.
The Manager workspace Home
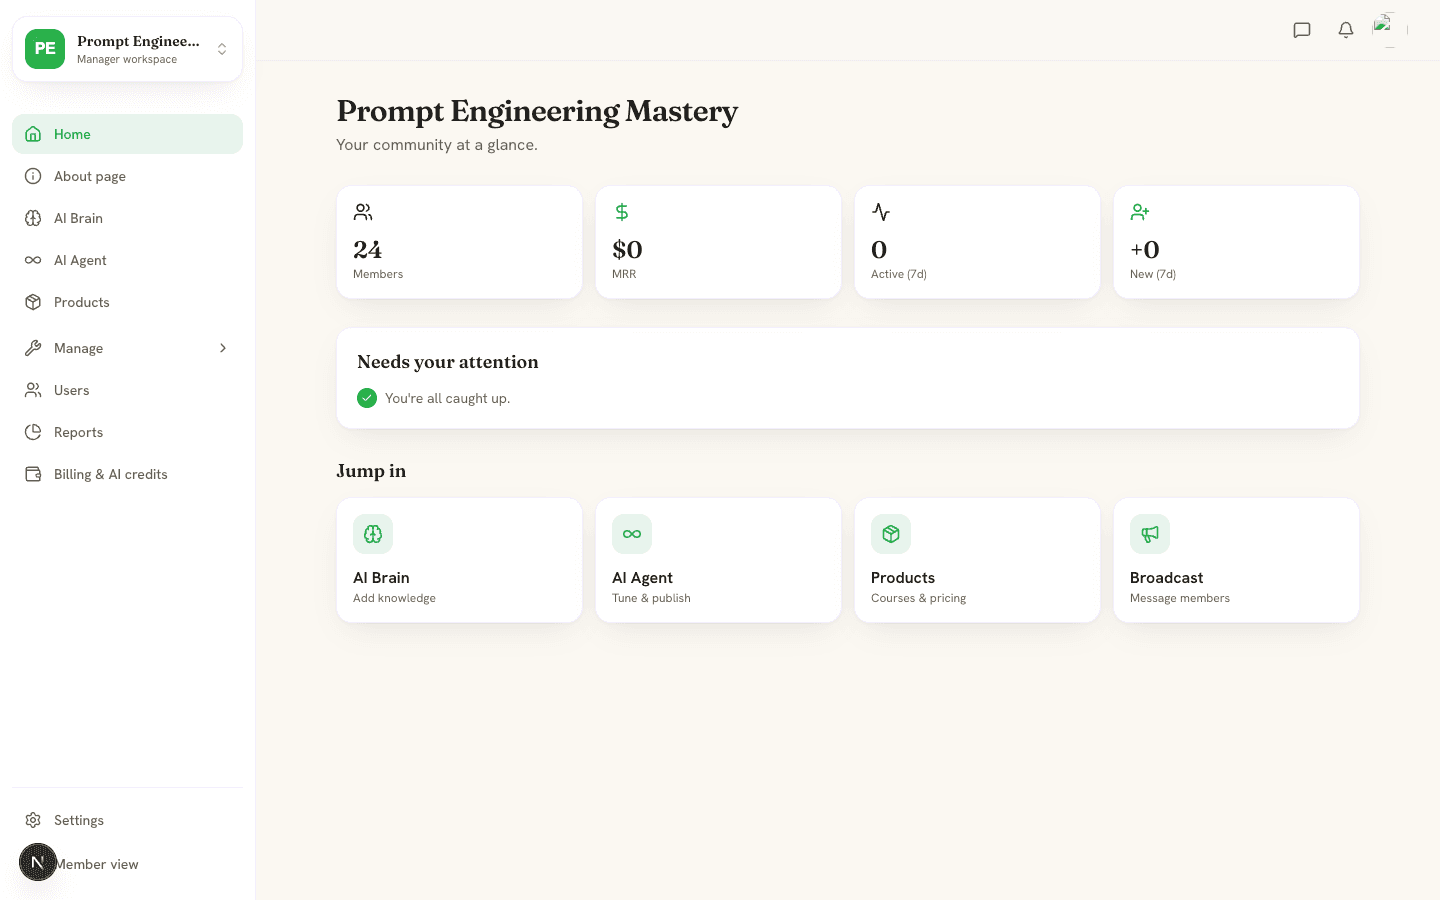
Home shows Members, MRR, Active (7d) and New (7d). Before launch, a Get ready to launch checklist sits below them: Train your AI Brain, Publish your AI Agent, Create your first course, List in the marketplace and Make your first sale. After a sale, or once you are listed with a course, Needs your attention replaces it. While your community is unlisted, Home also shows Your community is unlisted with a List in Discover button that lists it in one click. The List publicly in Discover toggle in Settings does the same.
Frequently asked
Do I need a card?
Can I make more than one community?
Why can't people find my community?
Related articles
What is AISKOOL? A tour of the platform
A tour of AISKOOL: what a community contains, how the AI host works, what is free and paid, and where creators and members each work.
Sign in, your profile and your account
The three ways to sign in to AISKOOL, what happens the first time, how to edit your profile, and how to sign out or delete your account.
Paid tiers and getting paid with Stripe
Connect Stripe, create membership tiers, charge for joining or lock a course, and see how each payment is split.
Your AI host: Brain and Agent studio
Teach your AI host with AI Brain, shape its personality in the AI Agent studio, and see what it does and what it costs.
Build a course with AI
Generate a draft course from a topic or a document, then edit it, add slides and voiceover, set who can open it and publish.
Plans, AI credits and bring your own key
The three plans, how AI credits work, and how to run AI on your own key.